# Quick Start
# Installation
TIP
The official guide assumes intermediate-level knowledge of NodeJS, gRPC, and Docker. If you are new to backend development, it might not be the best idea to jump right into a framework as your first step - grasp the basics, then come back!
# Local development
Know that you have initiate the project you start developing your application. For local development we recommend using NGROK (opens new window) to create a tunnel between RELE.AI and your local machine.
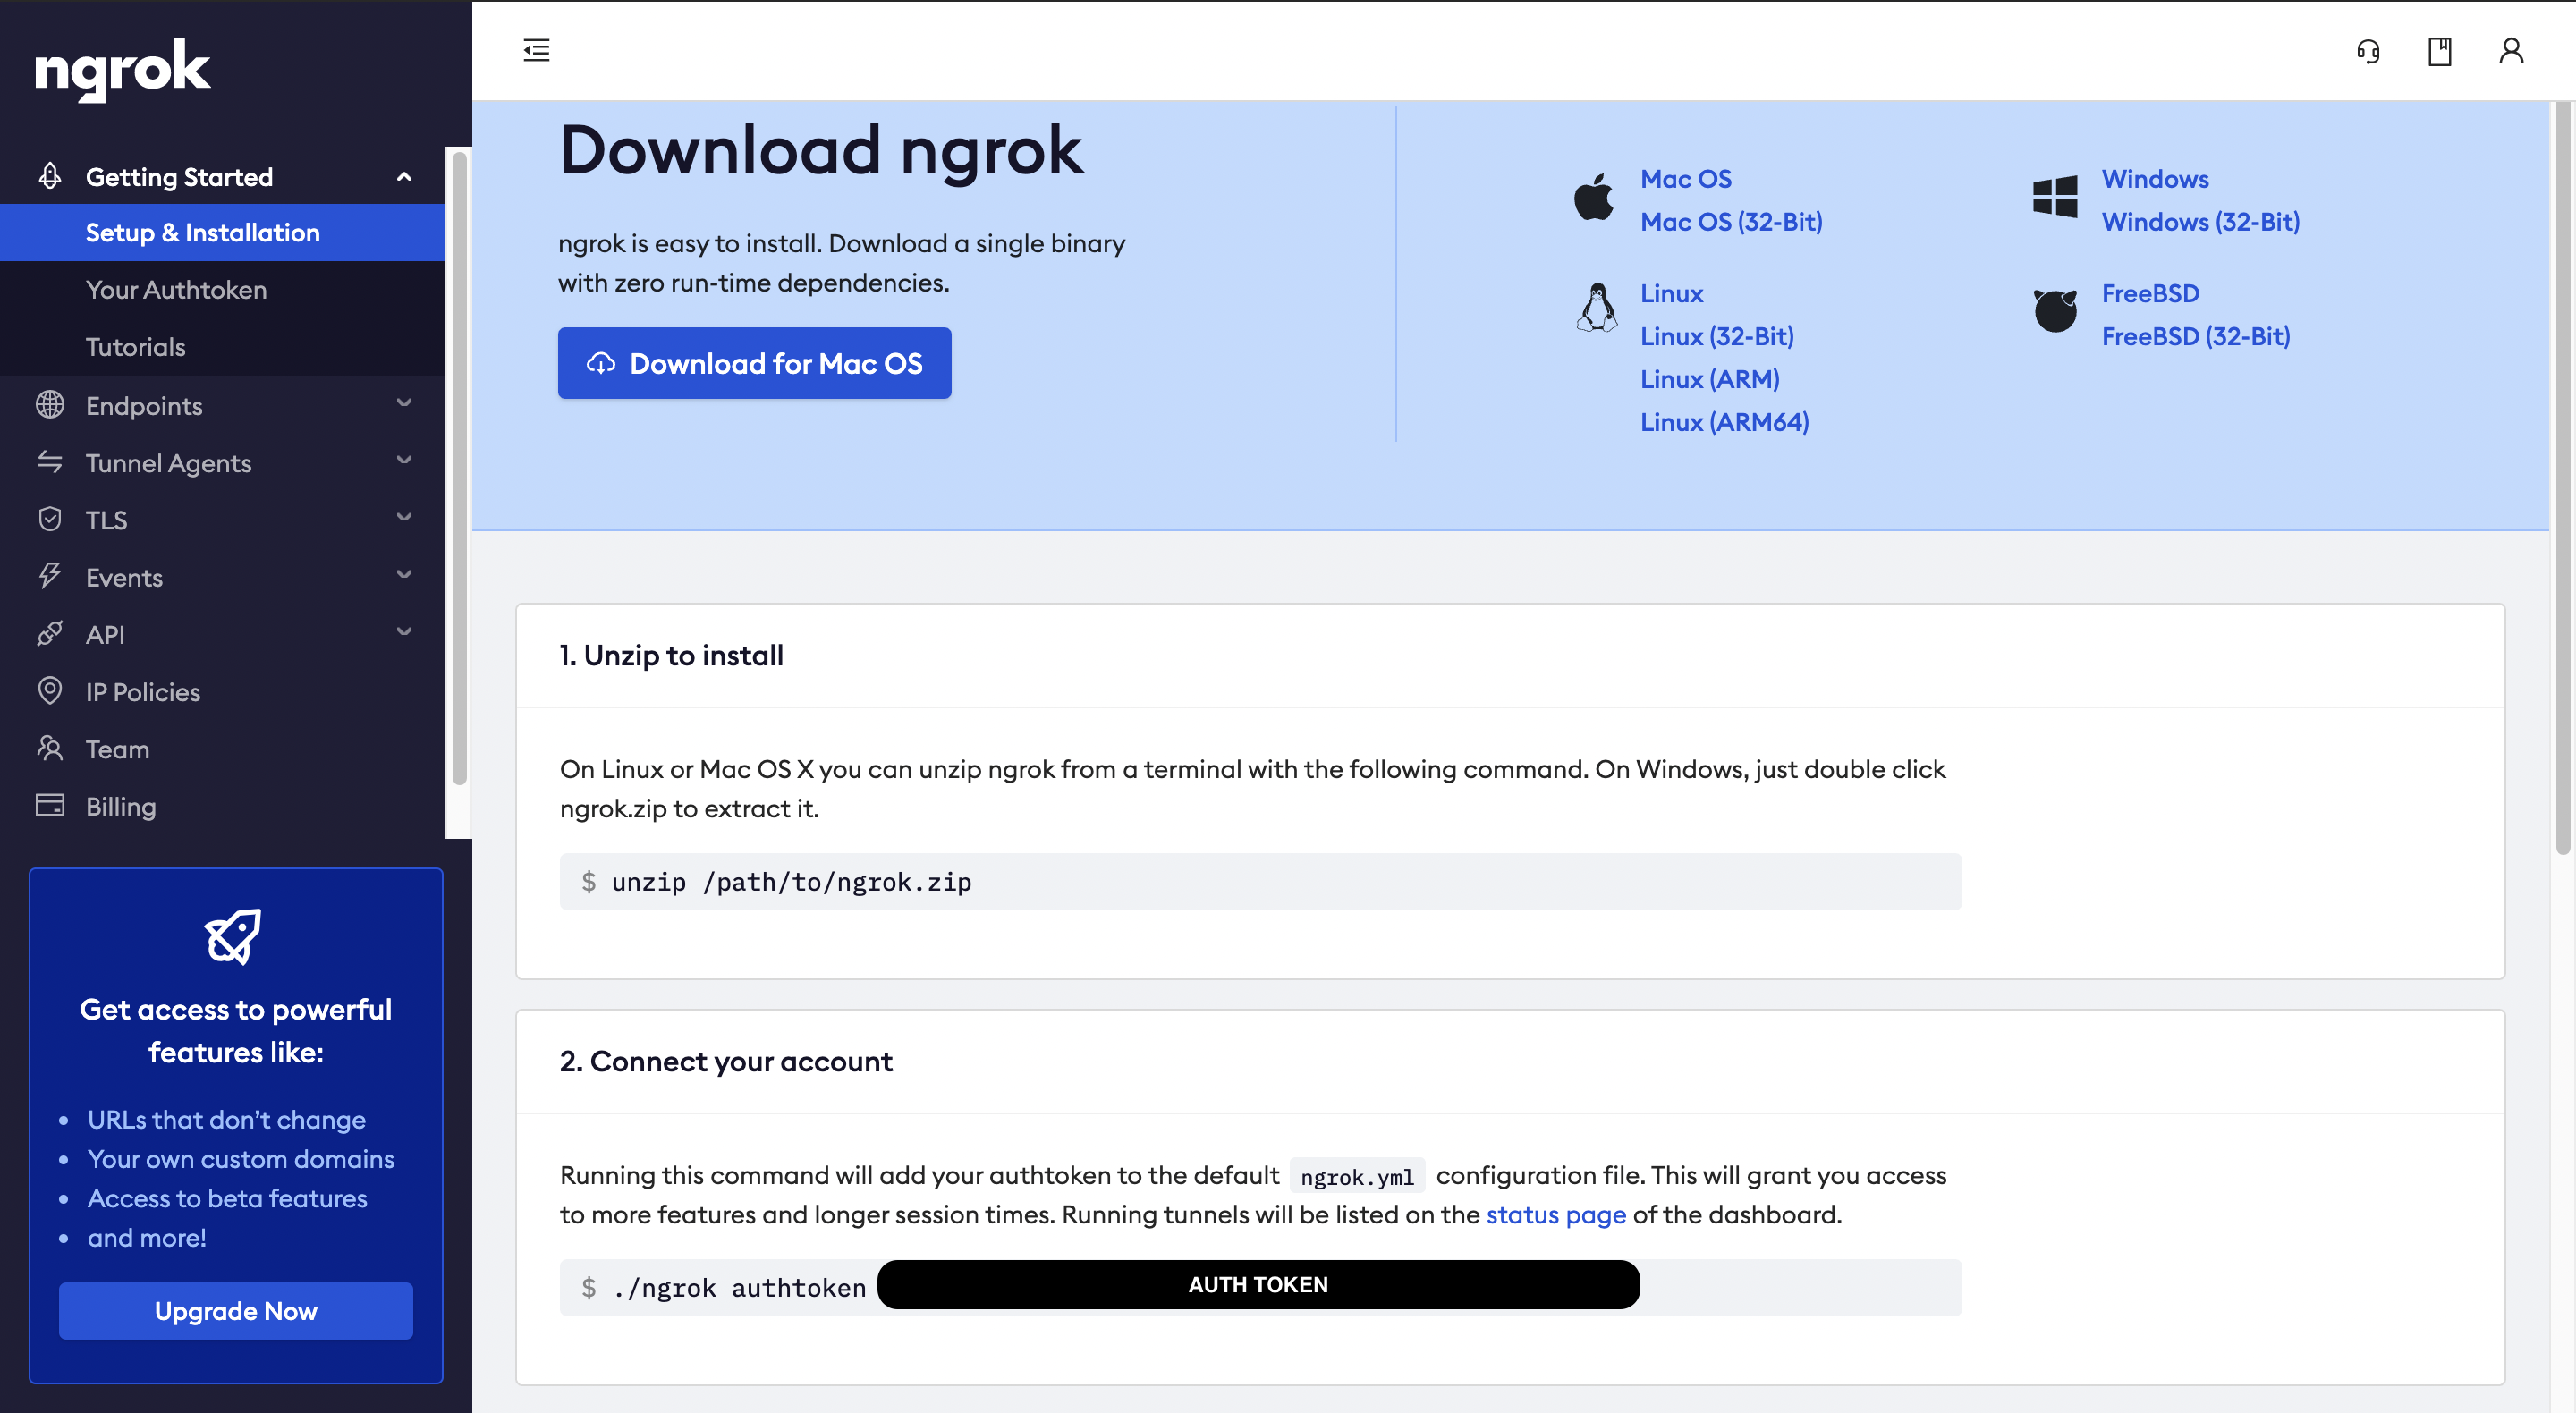
# Setting up NGROK
Install NGROK on your development machine by following the NGROK download & setup guide (opens new window).
For mac users we recommend installing using Homebrew (opens new window):
brew install ngrok --cask
# Obtaining authtoken
Sign up to NGROK (opens new window) and grab the authtoken command from the main dashboard page.
Make the ngrok authtoken accessiable for ngrok and RELE.AI:
# set up auth token for ngrok
ngrok authtoken [YOUR AUTH TOKEN]
# Authentication
Obtain access credentials for your user account via a web-based authorization flow. When this command completes successfully, it sets the active account in the global rele.ai configurations. If valid credentials for an account are already available from a prior authorization then the old credentials will be overwritten.
rb auth:login
# Initiate a project
RELE.AI's CLI support the usage of external and internal templates. A list of available tempaltes can be found on our GitHub account (opens new window).
To initiate a project with the hello-world template (opens new window) run the following command:
rb create hello-world -t rele-ai/hello-world-integration-template#main
Once the template is available, a list of question on how to setup your application will be shown. Please follow these questions to set up your application properly.
Once the application is generated. Please change directory into the generated directory and install the required dependencies.
cd [YOUR_PROJECT_NAME]
npm install
npm run tokens
# Run development environment
# Official RELE.AI Templates
If you are using an official RELE.AI template for your project you can use the provided npm scripts to run the development server:
# from the project root run
npm run dev
TIP
Official templates can be found in our GitHub Account (opens new window)
# Any project structure
If you are using a non-official RELE.AI template or a custom project structure, you can use the rb cli tool to run a development server:
# Usage
rb dev [MAIN FILE]
# Example
rb dev ./src/index.js
# Production
Moving to product in 2 easy steps! Using RELE.AI official templates and CLI tool you can deploy your application in 2 easy steps.
# 1. Build the deployment script
If you are using an official RELE.AI template, edit the ./scripts/deploy.sh file with the docker build and deployment configurations.
If you are using a custom structure or template, edit the package.json scripts with a new command called deploy that will execute the deployment sequence.
TIP
We recommend running RELE.AI using a Kuberenetes cluster.
# 2. Run the deploy command
RELE.AI provides two levels for deployment.
user- Will apply the workflows only to a specific userorg- Will apply the workflows to every user on the company.
# User Development
To deploy the workflows to a specific user or set of users, run:
# your personal user
rb deploy:user

# set of users
rb deploy:user foo@rele.ai bar@rele.ai baz@rele.ai
# Company level deployment
To deploy the workflows to every user in the company, run:
rb deploy:org